What Is DMARC Policy?
A DMARC policy instructs email providers on how to handle messages that do not pass authentication checks. You can select from the following options:
- None: Monitor traffic only, no enforcement
- Quarantine: Messages failing DMARC are marked as suspicious (e.g., go to spam)
- Reject: Messages failing DMARC are blocked completely
How to Establish or Modify Your DMARC Policy
- Go to the Domains section and select your domain
- Navigate to the Settings tab
- Choose your desired DMARC Policy from the dropdown
- Copy the generated DNS TXT record and update it manually at your DNS provider.
Once updated and propagated, the new policy will automatically appear in DMARC/eye reports. You can use the Validate Records tool to verify that the DNS is properly configured.
Changes to DMARC policy must be published through DNS records. DMARC/eye assists you in generating the correct record and provides instructions for applying it with your DNS provider.
Additional Authentication Checks
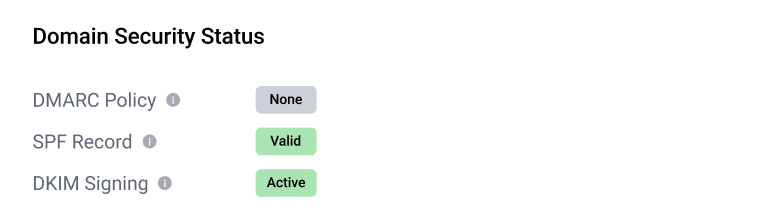
On the same screen, you’ll also view the real-time status of:
- SPF Record (Sender Policy Framework)
- DKIM Signing (DomainKeys Identified Mail)
Both are required for DMARC to work properly.
Why It Matters
By applying and enforcing the right policy, you:
- Protect your domain from spoofing and phishing
- Improve your email deliverability
- Meet industry compliance and security standards